Drying herbs is super easy, and requires no skill, talent, or magic to do. I have two methods that I hav had success with: 1. Oven drying and 2. microwave drying. I will explain the tequniques for each.
Oven Drying
--Remove the stems from the leaves of the herb. Discard the stems, and place the leaves the be dried on a cookie sheet, jelly roll pan, or some other oven safe vessel in a single layer.
--Set the oven to warm (180 degrees) and pplace the trays with the herbs in the oven.
--Set a timer for 2 hours. Check on the herbs periodically. (The time required will vary greatly on the amount of herbs being dried)
-- The herbs are done when they feel dry and crispy.
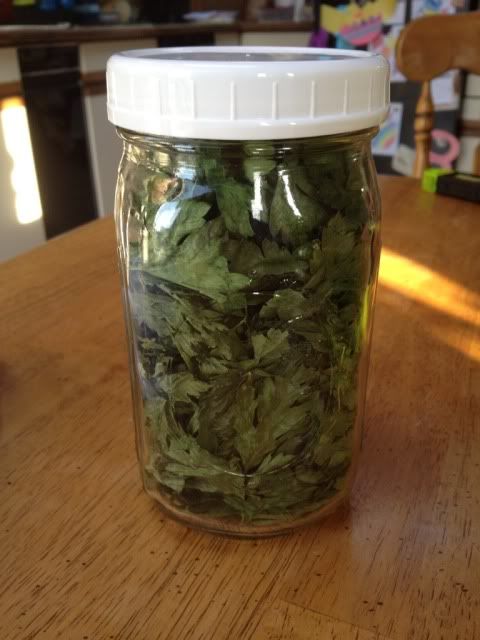
-- Leave the trays of dried herbs on the counter over night to make sure they are really dry before you stuff them into the storage container of your choice. I always go with a Mason jar. You can buy the awesome plastic storage lids here.
Microwave Drying
-- Get a microwave safe plate, dish, etc. Line with a layer of paper towel.
-- Place herbs to be dried in a single layer in the lines dish.
-- Cover with another layer of paper towel.
-- Microwave for 1 minute
-- Check to see if herbs are dry. If not, continue microwaving in 30 second increments.
-- Once the herbs feel dry, but not crispy. Take them out and let them sit, uncovered, overnight. They should be crisp by the next day and you can store them in an airtight container.
Easy, Peasy! Happy Drying!
No comments:
Post a Comment