Although I could have completely "winged it" I decided to troll the Internet (you know there's a lot of great stuff on that Internet) to see if I could find instructions for the headband construction. I found one that I liked here, but decided to make a few modifications to get my clone of the sporting goods store headband.
I also decided to use the velvet ribbon inside and out since I LOVE the look of velvet ribbon and I happen to have a lot of it in my stash
Gather Your Supplies
- Velvet ribbon(you will need 34" for an adult sized headband)
- 2 Hair elastics
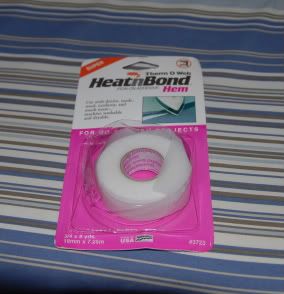
- Heat and Bond or Wonder Under
- Iron
- Scissors
- Sewing Machine
- Pins
- Thread that matches the ribbon
Step 1: Cut the Ribbon. For an adult head you will need 34" of velvet ribbon.
Step 2: Cut a piece of Heat and Bond (or a strip of WonderUnder) 17" long. Make sure that whatever fuser you are using, either the Heat and Bond or the WonderUnder is just a little bit narrower than your ribbon.
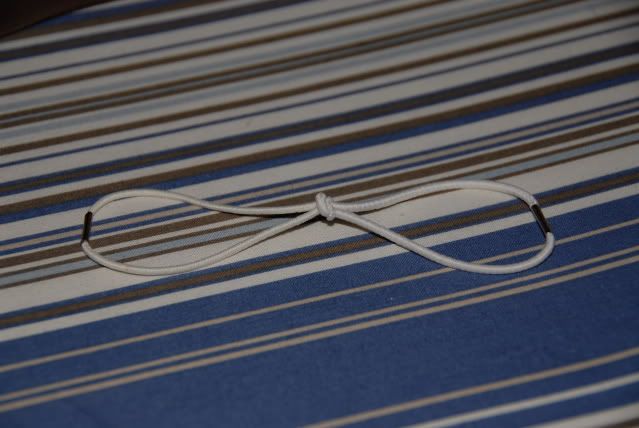
Step 3: Loop your two hair elastics together so that they are connected with a knot in the middle and they look like this, in a "bow":
NOTE: If you are using the kind of elastics that have the metal pieces on it (as I did), make sure you loop the elastics together so that the metal pieces are on the outside and not on the inside.
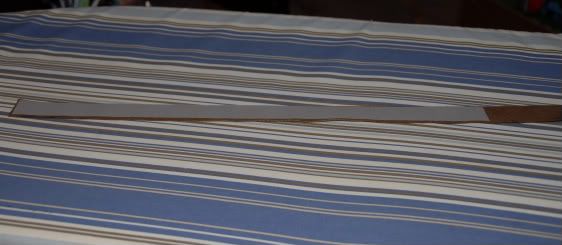
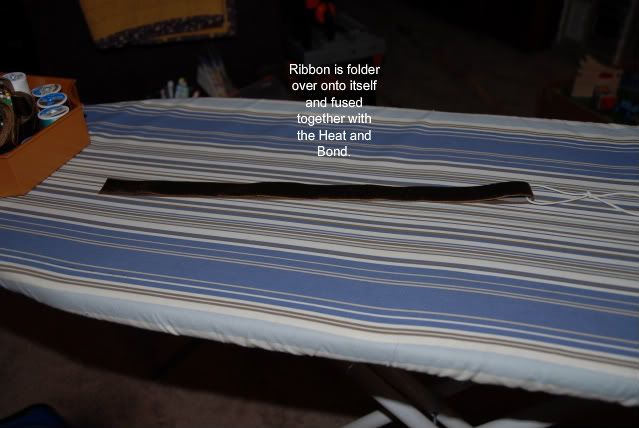
Step 4: Lay your outside ribbon, right side down on your ironing board. Lay your Heat and Bond or WonderUnder that has been cut to size on top of that. Fold the other half of the ribbon over onto itself with the Heat and Bond in the middle. Slide one loop of your hair elastic "bow" on to the ribbon so that it comes to rest at the fold. Iron according to the manufacturer's directions, taking care not to melt your elastics.
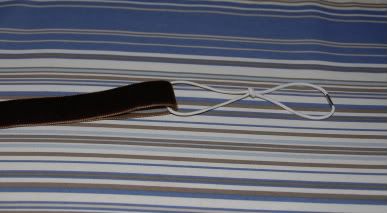
Step 5: Put the "raw" edge of the ribbon through the open end of your hair elastic bow and pin to hold in place, like this:
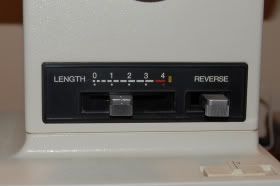
Step 6: Now it is time to sew. Shorten the stitch length on your sewing machine. For example, my regular stitch length is a 2.4 or a 2.5 but for this project a moved it to a 1.8 or there about.
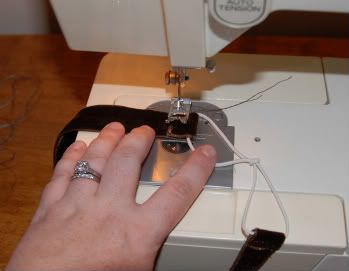
Once you have shortened your stitch length you will want to sew over both ends of the velvet ribbon to secure it. Both the unpinned and the pinned end:
Go over each a end a few times just to make sure.
Finished! That was the last step. What you have just created is a pretty velvet ribbon headband. And they are quick! From start to finished I whipped out three of these babies in an hour last night.
P.S. If you want, you can finish the "raw" edge of the ribbon with Fray Check to make sure that your hard work does not fray away.





1 comment:
Ahhhhhhh, pretty! I'll take one...LOL really they would make good gifts.
Mom
Post a Comment